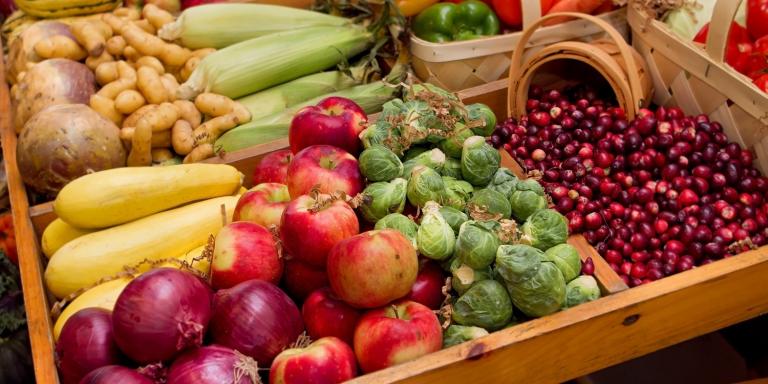
Summer never seems to be long enough. One great thing about the changing of the seasons is the abundance of organic fruits and vegetables. Because they’re in season, not only are they fresher but often less expensive too.
If you find yourself with too many organic blueberries, tomatoes, or blackberries, store them for winter with the time-honored methods of canning, dehydrating, and freezing. It’s the next best thing to picking them fresh!
Here are some helpful tips on food preservation methods.
Preserve Foods by Dehydrating
This is one of the original forms of food preserving. Used for fruits, vegetables, and even meats, dehydrating is easy, and the end product is lightweight and easy to store.
Bacteria, yeast, and mold cannot survive in the absence of moisture, making dried foods safe at room temperature. While dehydrating will slow down the enzyme activity of foods, it doesn’t eliminate it entirely.
In arid regions such as Southern California, people dry tomatoes outside in the sun with a screen kept over to deter insects. Try this technique in the humid Northeastern part of the United States, and you’ll get mold.
This is why a food dehydrator and kitchen oven are the preferred tools for drying or dehydrating. While an oven works well, there are certain undeniable benefits to using a food dehydrator: It maintains a temperature that’s up to 50° lower than that of a kitchen oven. A dehydrator has a fan that circulates around the food, shortening drying time. A dehydrator also uses less energy than an oven.
Don’t expect dried foods to taste exactly like their fresh counterparts. Flavors, colors, and textures will intensify. When reconstituting dried fruits and vegetables, remember to save the soaking water. It’s full of B vitamins and minerals and can be added to chilis, risottos, sauces, and soups.
Dehydrating Tomatoes
- Cut tomatoes into halves, strip, or slices. Pieces should be no thicker than 1/4 inch. Remove the seeds for a faster drying time and more flavorful end product.
- Place the tomato pieces skin-side down on dehydrator trays or on baking sheets lined with parchment paper. Be sure that none of the tomato pieces touch one another.
- If using a dehydrator, set it to 135°. Dry tomatoes for 8 to 14 hours. (The time will depend on the thickness of the pieces.)If using an oven, set it to its lowest temperature (generally somewhere between 140° and 150°). Place the baking sheets in the oven. Dry tomatoes for 6 to 12 hours. (The amount of drying time will depend on the thickness of the pieces.) Move the baking sheets around at least once during drying time. There should be no moisture along the break line when a tomato piece is cut in half.
- When tomatoes are done, remove them from the oven or dehydrator. Let cool to room temperature. Transfer to tightly sealed jars or containers.
- When ready to reconstitute the dried tomatoes, place them in a heatproof bowl. Pour boiling water over and let soak for 15 minutes. Drain and use as desired. Save the soaking water in the fridge or freezer for soups, sauces, or even pasta cooking water.
Freezing to Preserve Foods
This is probably the easiest and most convenient method of preserving. Here are some tips and tricks to keep in mind.
- When using plastic bags for freezing fruits and vegetables, select those that are thicker and have a zipper seal. Regular plastic bags tend to be too thin to protect food from freezer burn, according to Leda Meredith, author of Preserving Everything.
- Other options include freezer-safe containers made from stainless steel or thick glass; they won’t crack in the freezer and are BPA free. Meredith recommends wide-mouth canning jars with straight sides and no narrowing at the neck. Leave some head space at the top of the jar before freezing, since water in the food will expand.
- When freezing berries or sliced fruits and vegetables, spread them in a single layer on a baking sheet. Place the baking sheet in the freezer for 1 to 2 hours. Remove and transfer the frozen produce to freezer containers or plastic zipper bags. This method helps the items stay loose and not freeze into a single block.
- When freezing leafy greens, such as kale, chard, spinach, and collards, blanch first. To do so, bring a large pot of water to boil. Wash the greens. Add them to the boiling water and stir for 1 to 2 minutes. Drain in a colander and immediately run cold water over or transfer the greens to a bowl full of ice water. When the greens have cooled completely, drain again. Squeeze as much liquid out as you can. Chop the greens and transfer them to freezer containers or plastic zipper bags.
- To prevent freezer burn, minimize the air that comes in contact with the food. To do this, press the plastic bag as flat as possible before zippering it closed. Store foods deep in the freezer and not on the freezer’s door shelves, which tend to have the warmest temperature and can contribute to freezer burn.
For more information on how to can, culture, pickle, freeze, ferment, dehydrate, and more, check out Preserving Everything by Leda Meredith ($19.95, Countryman Press, 2014).

